
Pseudoku
@Pseudoku3
Followers
851
Following
616
Media
240
Statuses
344


Doing a summer sale till August 1st 1200 CST.LOTUS for 30% off on all premades items.EAGLE for 20% off on custom/made-to-order stuff.Link to my shop in on the header.サマーセール実施中!🎐
0
0
3
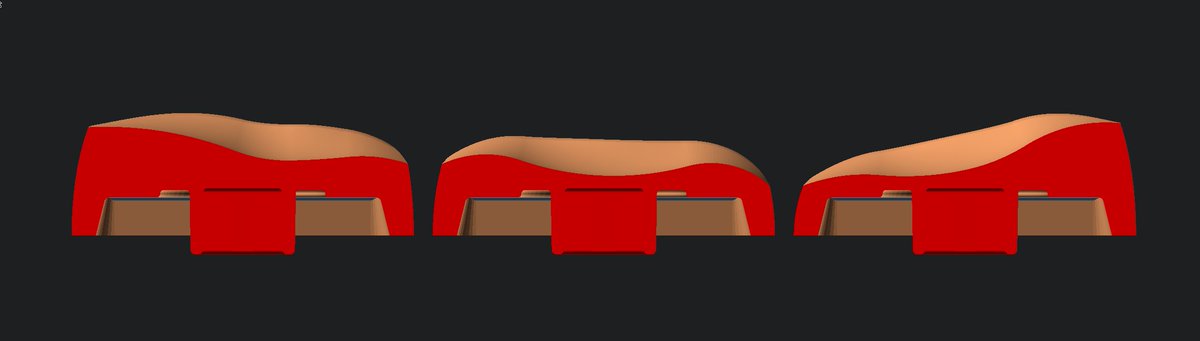
Le Chiffre Cold Cast Case: Copper, Brass and Silicon Carbide. Also a new profile in works: Cincinnati Brutalist, next iteration on DES if you will. A sculpted mid profile with deeper dish in MX spacing and stem.


2
12
68


Also open sourcing the case as it is a Le Chiffre derivative after all. Enjoy! I recommend MJF Black, if you are printing them from a 3rd party service.

github.com
Negative Tilt Keyboard Case for Le Chiffre. Contribute to pseudoku/Le-Chiffre-Case-7_4 development by creating an account on GitHub.
0
1
6
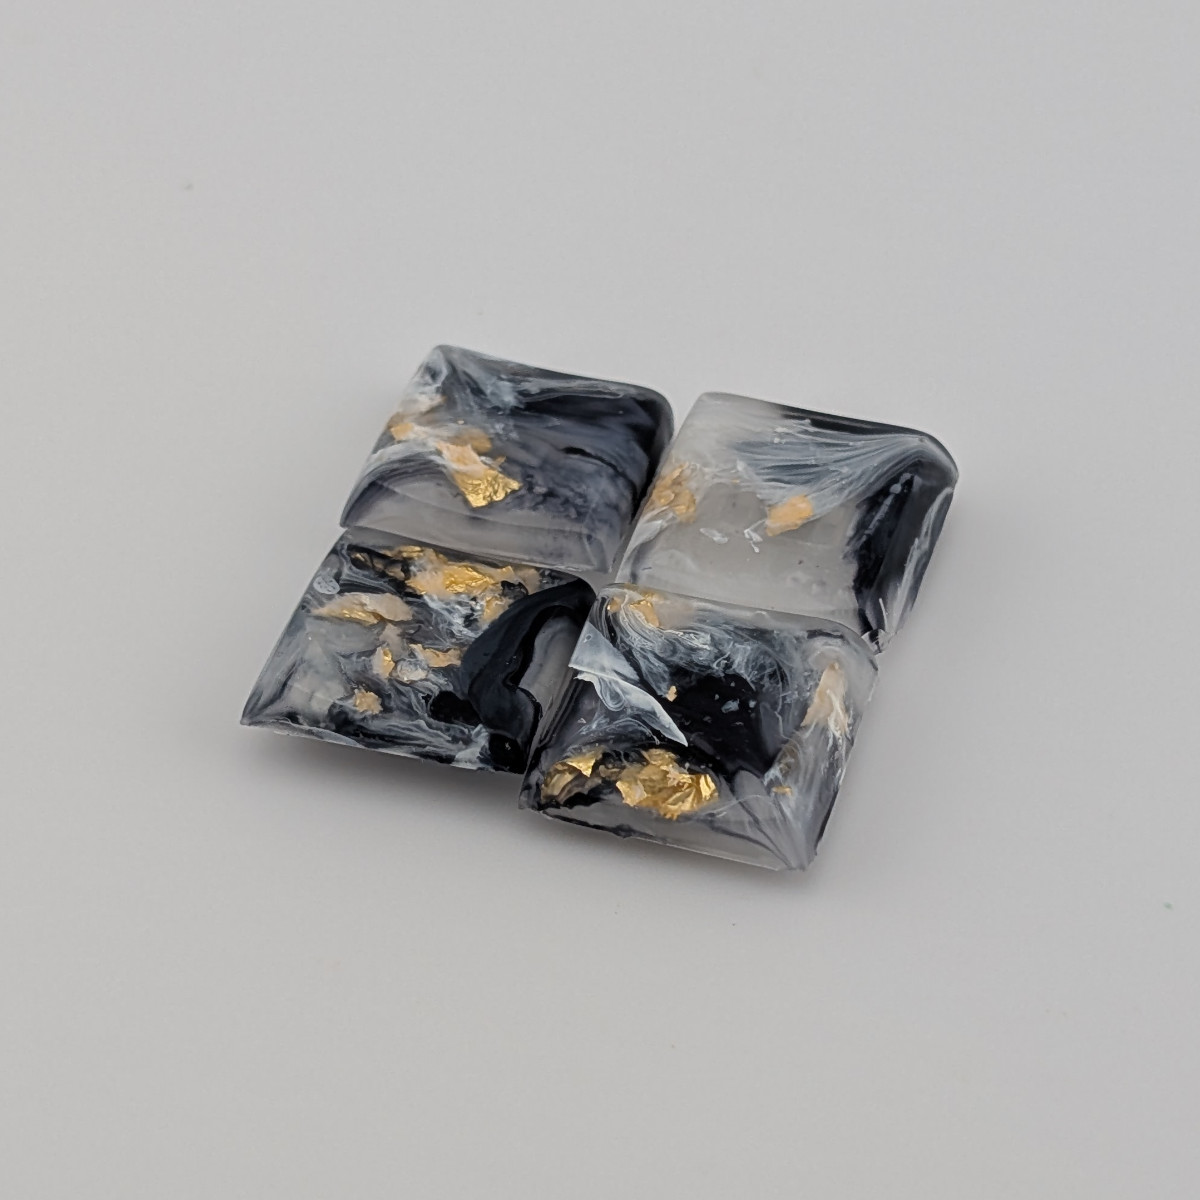
Initial trial of cast case. SiC Epoxy Composite feels nice, but post process is nightmarish. Bottom pattern is filled with copper cold cast to weight it down a bit more. Top ended up warping due to early demold. Still a lot to improve upon.


0
1
12
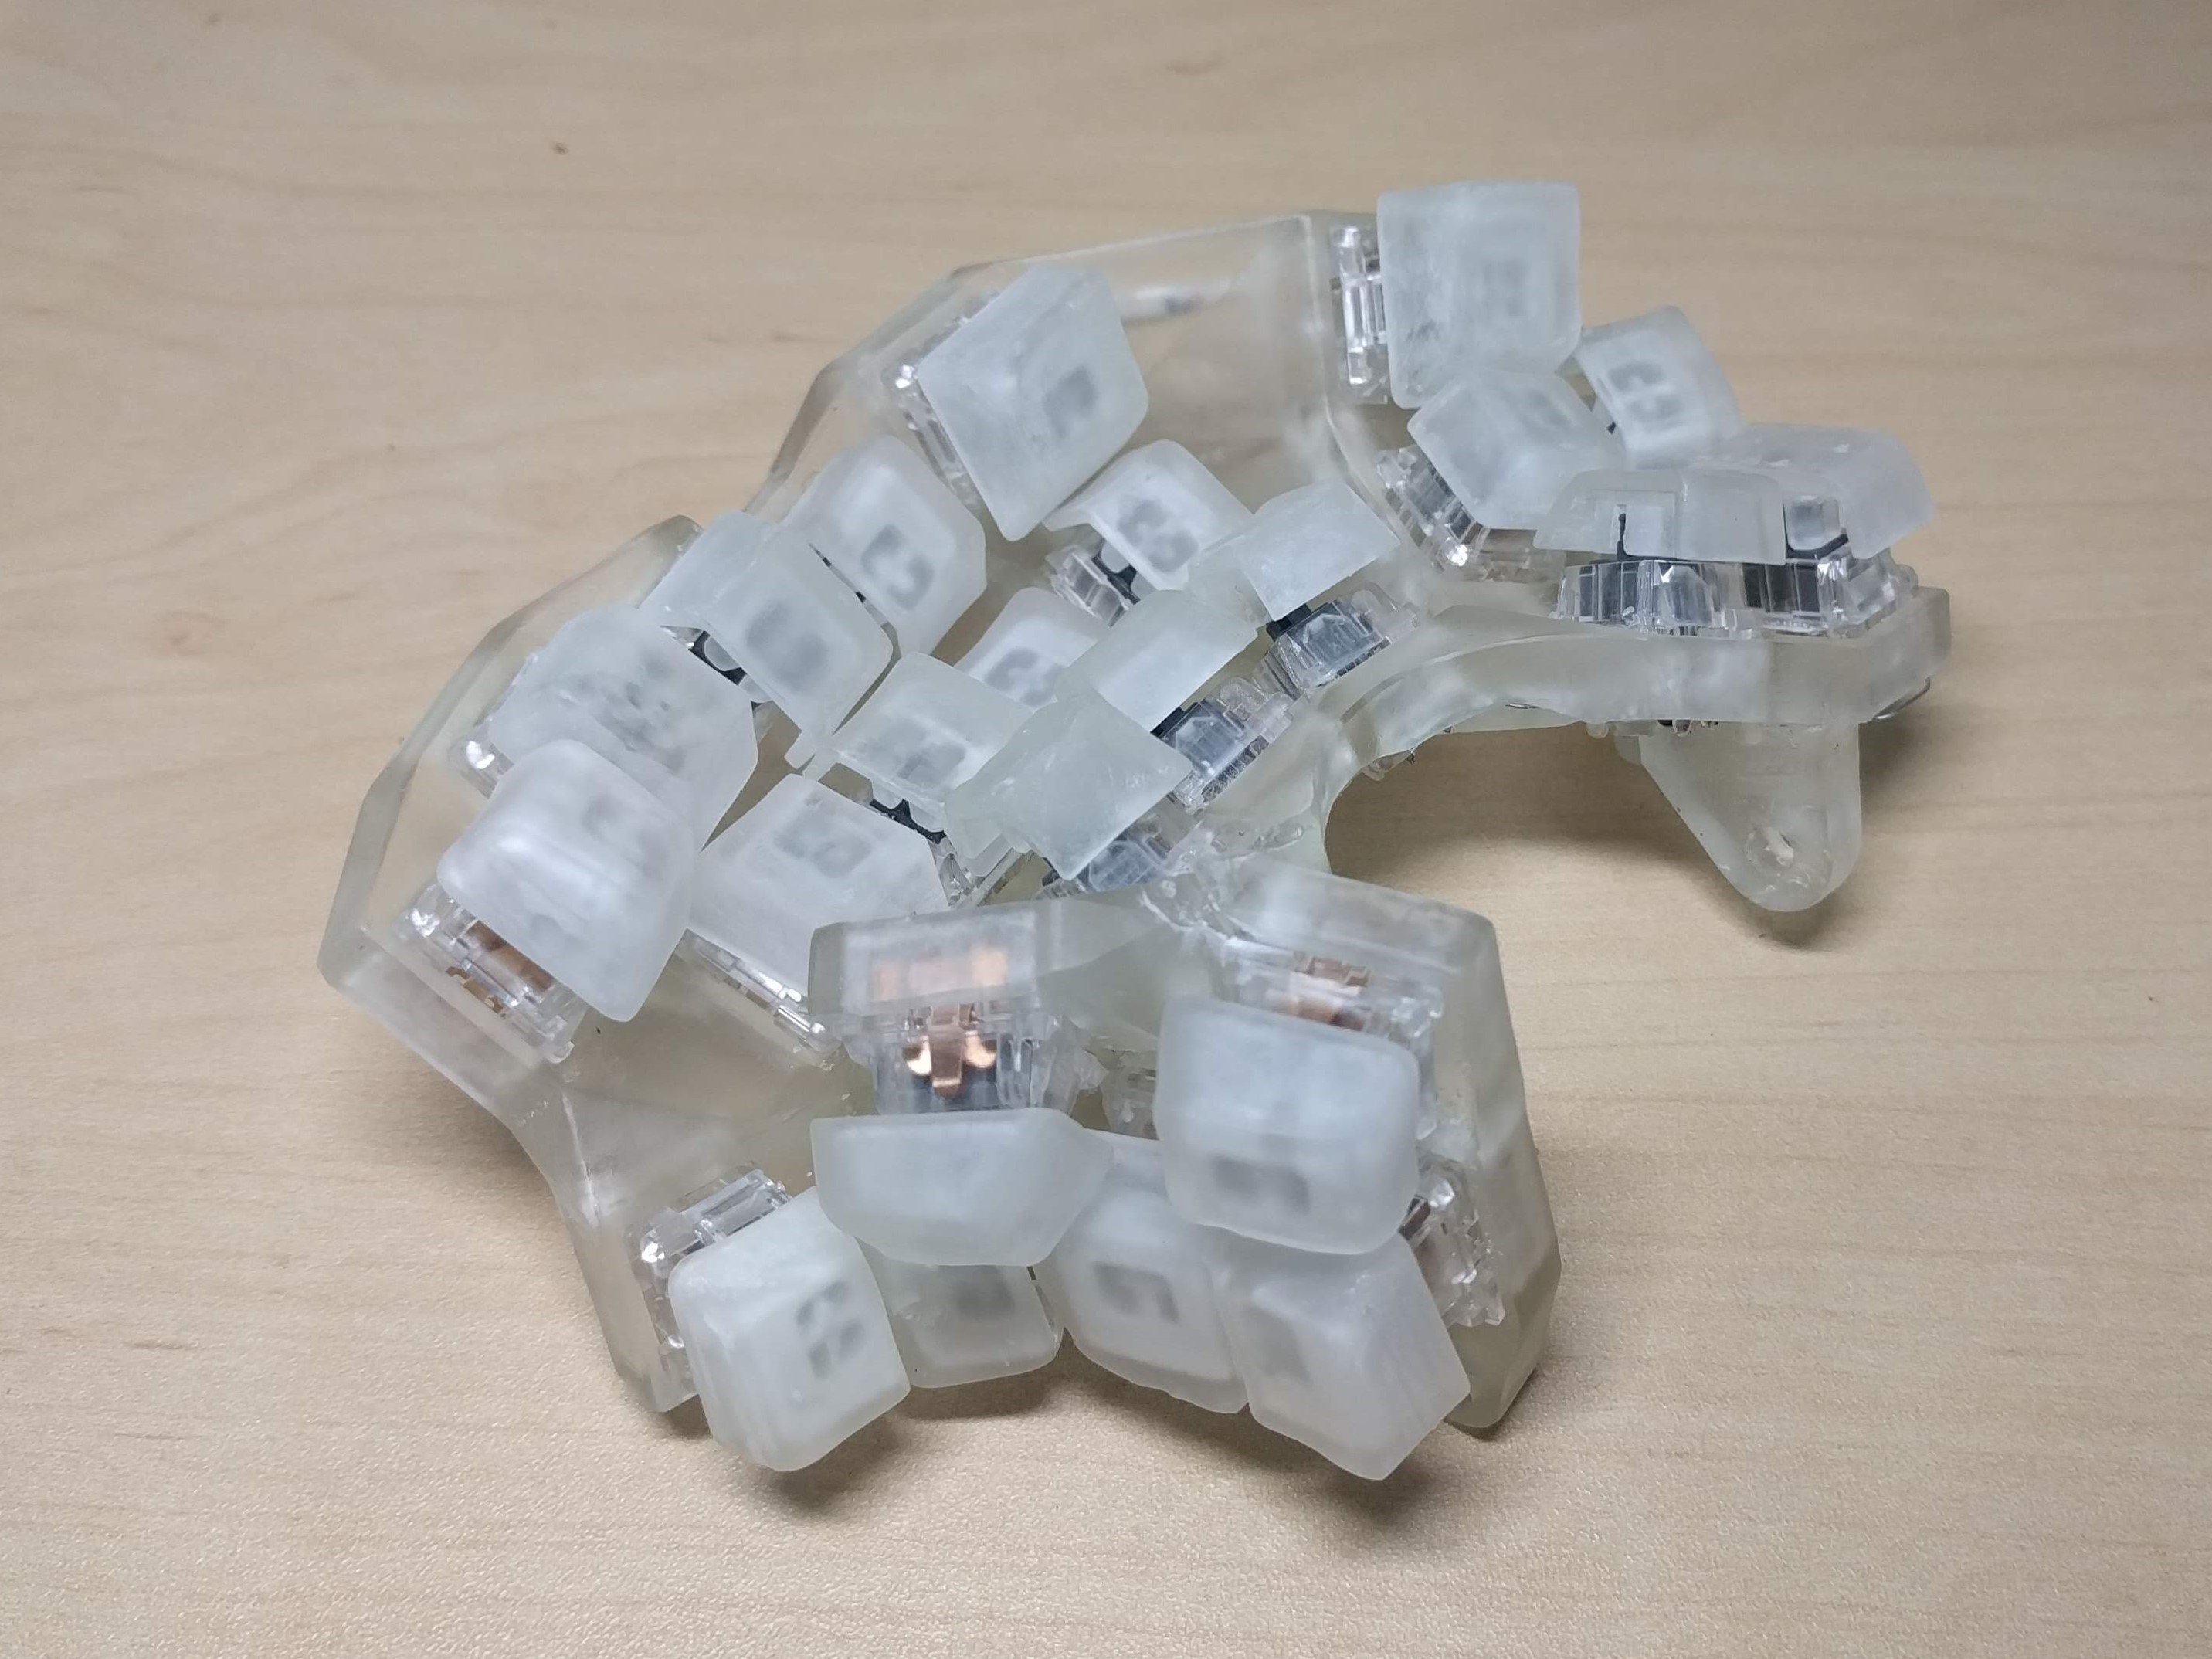
Modular palm rest with inverter magnet to allow thumb articulation, but locks in at an angle and distant at rest. Current plate stack is set at -10 deg tilt and 5 deg tent, but you can stack or subtract plate to desirable height/angle.


0
0
22


I'm on the telly! Will get to work on the next iteration, though when I'll order the next prints. may depends on other factors.

i used this absurd 3d printed ergonomic fingertip mouse for a month, and i talk abt it my experience with it and some other related topics (ergo mice, sensor rotation, strange periphs) on my second channel :>. here's a bit of me waffling about comfort vs performance in mice
9
0
43


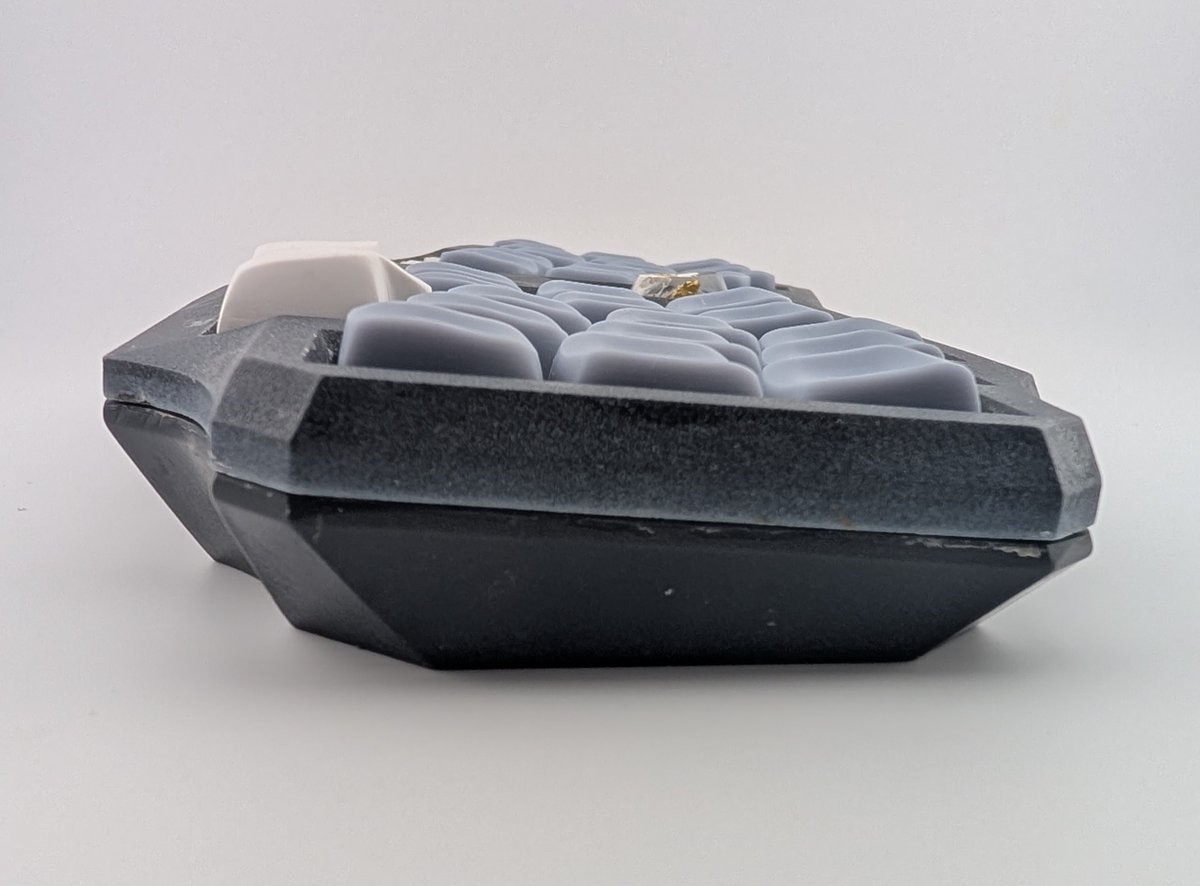
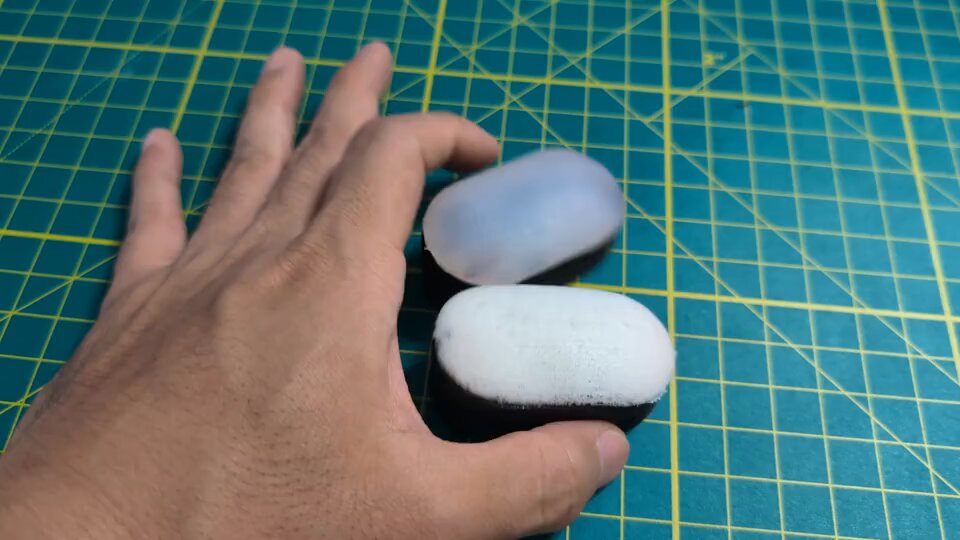
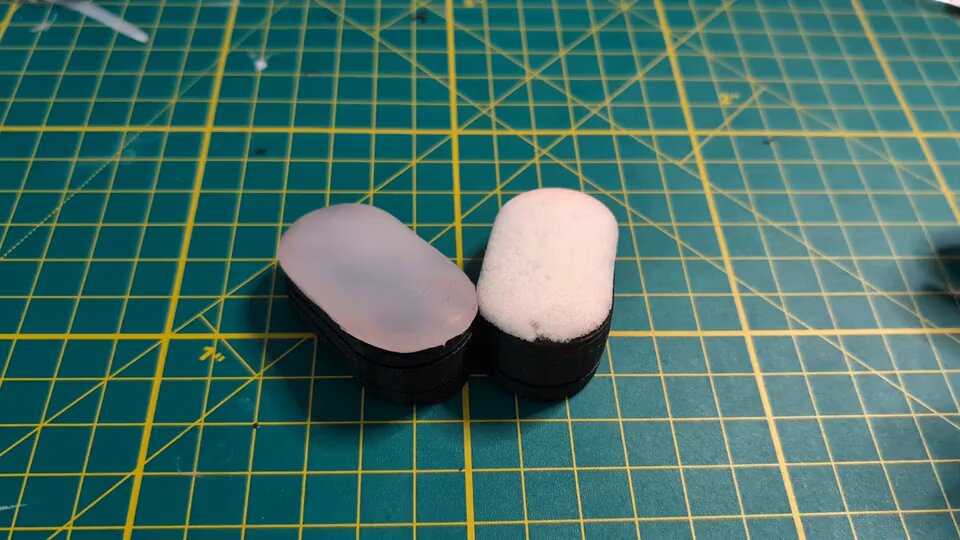
Back at working on negative tilt le chiffre case. Testing the idea of resin filled bottom with printed proto. My final idea is metal cold casted fills to add weight. but see through is kinda cool too.


0
9
44
Finally, plug in the side PCB jumper (wrap it around one on the strut so it doesn't flop around) and the battery. You can slide in battery between the shell to secure it somewhat.


1
0
6
Attach the top PCB: first, secure the front 2 mount points with M1.4 wide heads. Then, attach the jumper and secure the paddle strut on to the shell and PCB.


1
0
9
Attach paddles to the strut: Secure the paddles with M1.4 wide head (if it's loose you can use M1.7 5mm instead) and insert two M1.4 5mm for easier alignment with the shell.

1
0
4
Next is the sensor PCB: attach the jumper first, then slide it on to the shell and secure it with 2 M1.4 wide heads


1
0
4